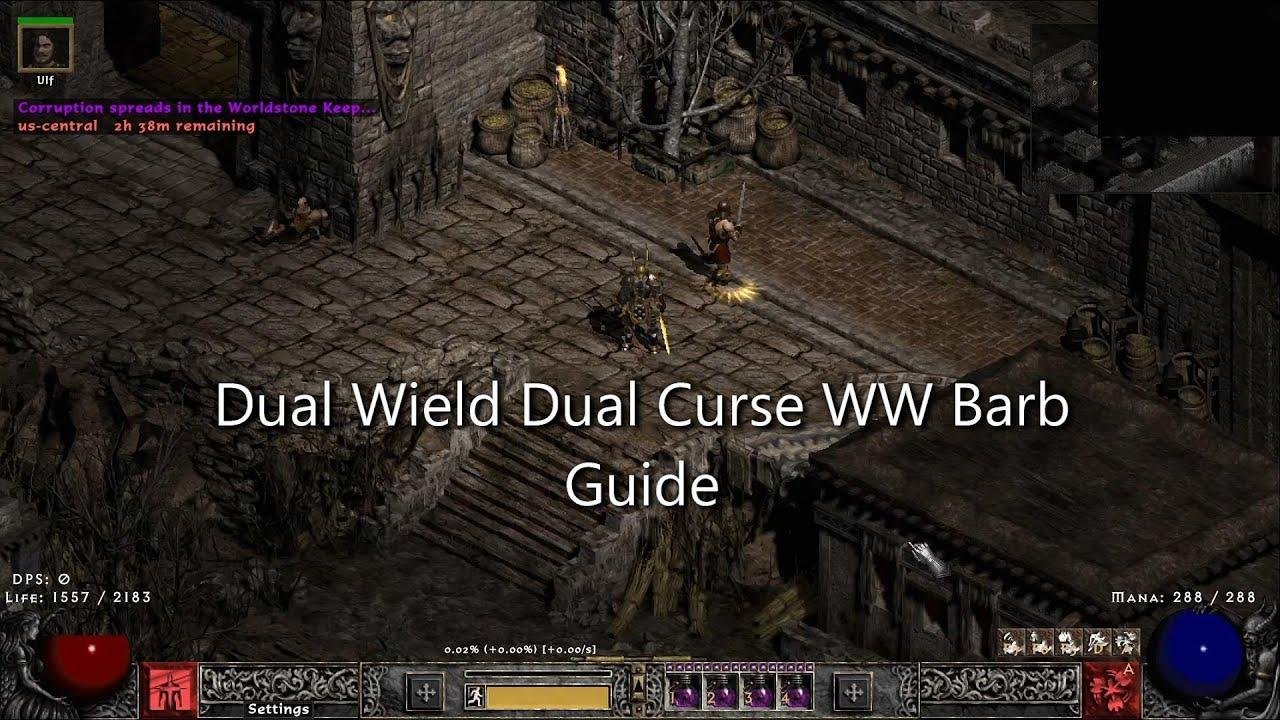
Dive into the whirlwind of chaos with your Dual Curse Whirlwind Barb! 

 Introduction to the Dual Wield Whirlwind Barbarian Build
Table of Contents
 Overview of the Build
This guide will walk you through creating a potent Dual Wield Whirlwind Barbarian that uses dual curses to enhance effectiveness in Project Diablo 2.
- Primary Strategy: Utilizing two curses simultaneously to maximize damage and support in maps.
- Build Cost: Relatively affordable with significant potential without extravagant investment.
 Strengths and Capabilities of the Dual Wield Setup
The Whirlwind Barbarian shines in clearing maps efficiently, especially certain types that suit his abilities. He proves extremely beneficial in group settings by significantly augmenting the team's overall damage and survivability without needing a Curse Necromancer.
- Map Performance: Excellent in Tier 1 and Tier 3 maps with clear times between 6 to 11 minutes.
- Group Utility: Provides essential life and damage boosts through curses.
| Key Takeaway                     | Description                                   |
|----------------------------------|-----------------------------------------------|
| Cost-Effective Build             | Initial setup requires only two high runes.   |
| Strong Mapper with Group Benefits| Effective in both solo and team scenarios.    |
| Quick Clear Times                | Can complete certain maps within 6-11 minutes.|
 Optimal Map Choices and Strategy
 Best Maps for the Dual Curse Whirlwind Barb
Choosing the right map is pivotal to harness the full potential of the Whirlwind Barbarian. Hallway maps with no physical immunes are ideal.
Preferred Maps:
- Tier 1: Sewers
- Tier 3: Cistern and Throne of Insanity
 Map Running Tactics
Efficiency in map running depends not only on the choice of map but also on player preferences regarding speed and item collection, affecting the total map completion time.
Note on Mapping: The faster you move and the less you loot, the quicker the completion.
 Gear and Equipment: Starting and Endgame Setup
 Initial Gearing Strategy: Low Budget, High Impact
This build can kickstart effectively with minimal investment, needing basic gear like the Lightsaber or King's Slayer weapons to begin running Pits for initial gearing.
Initial Weapon Requirements:
- Lightsaber: Essential for starters to handle first runs.
- King's Slayer: Another viable starting weapon with good damage.
 Detailed Overview of Essential Gear and Modifications
The success of this build relies heavily on certain unique items which amplify the dual curse mechanics.
- Rake's Virtue: Helmet enabling a second curse.
- Atma's Scarab: Amulet providing additional curse and damage enhancements.
- Doom Bringer: Main weapon, dual purpose in cursing and damage.
| Item            | Purpose            | Modification             |
|-----------------|--------------------|--------------------------|
| Rake's Virtue   | Additional Curse   | Two slots for Magic Find |
| Atma's Scarab   | Amp Damage Curse   | Enhanced Damage Slam     |
| Doom Bringer    | Weakens Enemies    | Four socketed for damage |
 Skills and Mastery: Customizing Your Barbarian
 Skill Distribution for Optimal Effectiveness
The allocation of skills is designed to balance between damage output and survival tactics. Maxing Whirlwind is mandatory, while supplementary skills like Frenzy can be adjusted according to player preference and playstyle.
 Warcries and Mastery Flexibility
The build allows flexibility in selecting Masteries and Warcries, focusing on maximizing General Mastery for survivability and enhancing Battle Commands for better team support.
Recommended Warcry Skills:
- Battle Command
- Battle Orders
 Advanced Tactics and Mercenary Choices
 Enhancing Build Performance in High-Level Play
Optimizing the barbarian for high-level content involves fine-tuning gear and skills for maximum efficiency. Strategic use of curses and mastering the whirlwind technique are keys to dominating in Tier 3 maps and above.
 Selecting and Equipping Your Mercenary
A well-equipped Act 5 Mercenary can significantly enhance the build's effectiveness, especially with targeted gearing like the Cranium Basher for additional amplification of damage.
 Conclusion: Harnessing the Full Potential of the Dual Curse Barb
 Final Thoughts and Further Optimization
Embrace the power of the Dual Curse Dual Wield Whirlwind Barbarian to excel in both solo and group play. Continued gear upgrades and mastery of map strategies will ensure this build remains potent across various gameplay aspects in Project Diablo 2 Season 9.
Key Strategies for Mastery:
- Optimize gear continuously.
- Master dual-cursor tactics for maximum area control.





 – Riven’s wishes new activity…